|
Celebrating 33 years providing high quality products and advice.
|
| Our Local Time Is 8:57:35 AM. |
| Call us at 818-786-0600. We are here to help! |
 |
ON SALE NOW
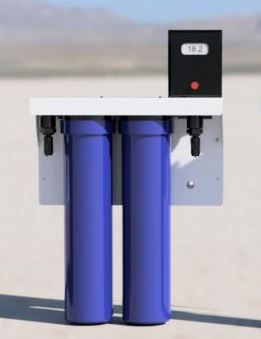
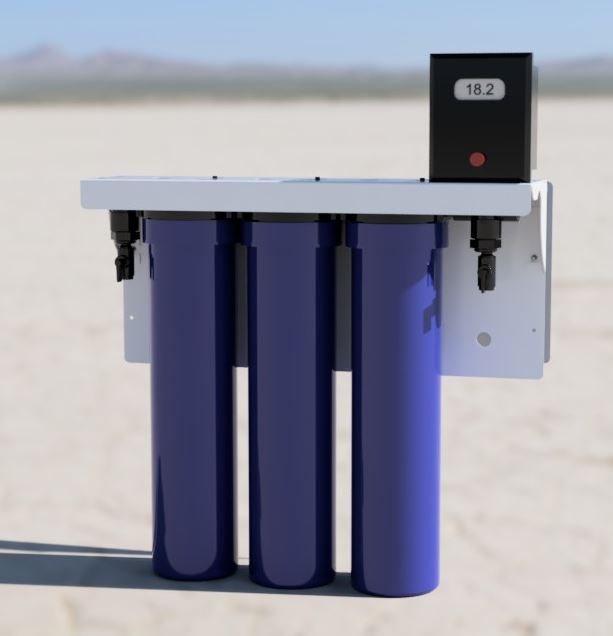
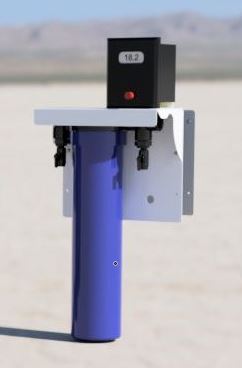
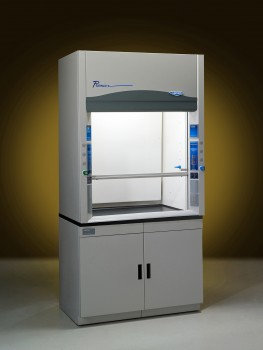
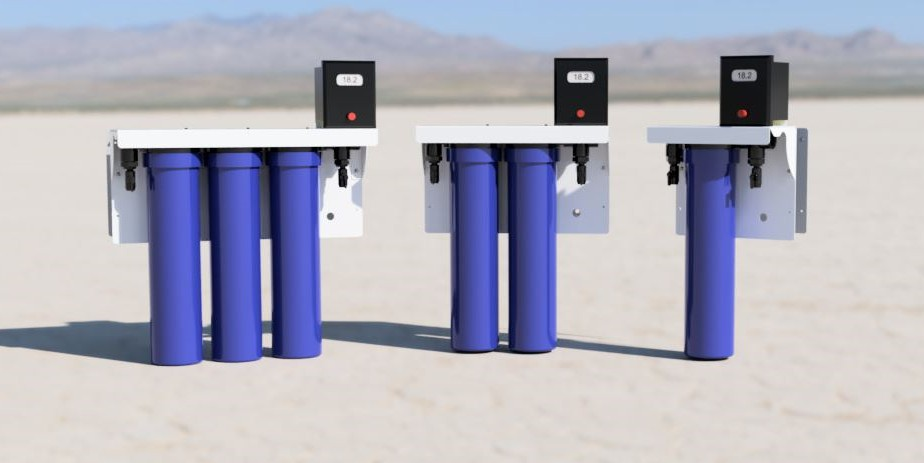
Introducing the Polaris Lab Water Systems
High Purity Water Made In The USA.
Click here for more info. |
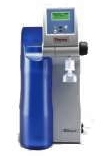
Millipore Milli Q Pump Adjustment and Valves Replacement Information
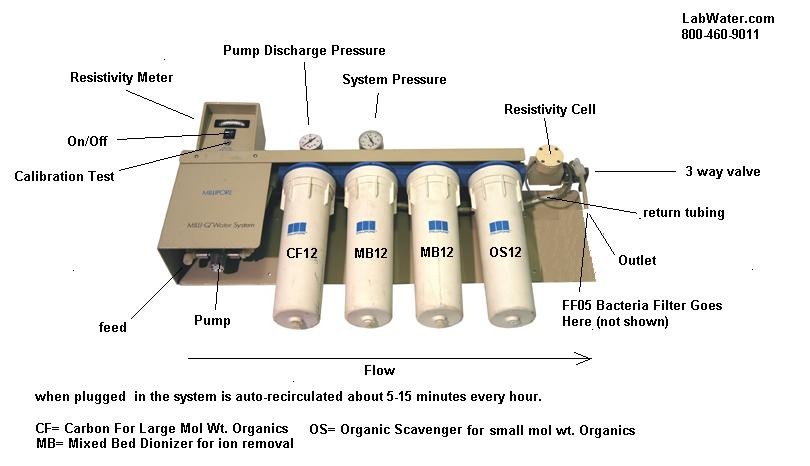
Adjustments
PUMP BYPASS ADJUSTMENT
At the factory the pump discharge pressure is set to 40 psig (275 kPa) and it is regulated by the pump's internal bypass.If it is not correct, use the 3/32 allen hex key supplied by the manufacturer to correct it--clockwise increases pressure, counterclockwise decreases pressure.
PART REPLACEMENT
After a period of time parts may wear out and need to be replaced.Most parts can be replaced easily, using either manufacturer's or cost effective comparable parts when available.Instructions on how to replace the components such as the sensor, Meg-O-Meter, pressure gauges, 3-way valve, sanitation fitting and flush valve are below.
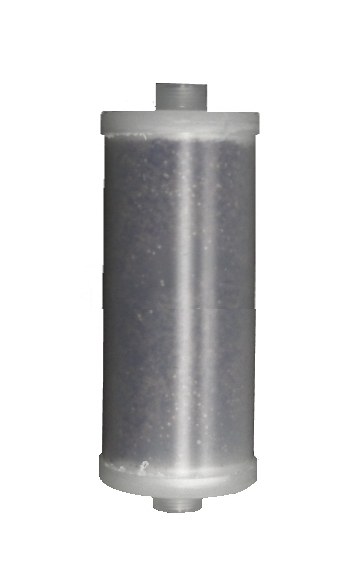
Pressure Gauges, Sanitation Fitting* Flush Valve
*To be installed on the pyrogen-free system only.
Always wrap the threads with teflon tape before installing a new pressure gauge, sanitation fitting or flush valve.Begin wrapping on the second thread and wrap it arpund once.Be sure and remove any tape extending beyond the threads.ONLY USE TEFLON TAPE AS THE THREAD SEALANT.
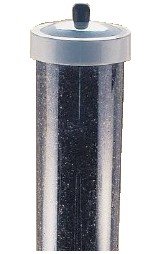
3-Way Valve
The valve assembly may wear out, or just the handle may break off.While they generally are purchased as one unit, the handle can be replaced separately and the valve stored until its replacement is necessary.
To replace the entire assembly:
Locate the outlet tube fitting on the valve, loosen the nut and unfasten the outlet fitting tubing.
Take the final filter unit and its attached tubing out of the filter support bracket.
Unfasten the nut on the outlet tube fitting and remove the tube fitting.
Loosen the nut on the recirculation tube fitting and remove that tubing from its fitting.
Take out the two phillips screws on the front of the valve and save them.
Make sure that the back of the 3-way valve and the valve support bracket are visible by turning down the sensor housing and its attached valve.
Unfasten the recirculation tube fitting and its attached check-valve assembly fro
m the valve.
Take the four phillips screws off the valve support bracket and take the bracket off.
Unfasten the valve from the 1/4" hex nipple on the sensor housing.
Check and be sure the threads on the 1/4" hex nipple, the recirculation tube fitting, and the check valve assembly are wrapped with the teflon tape.
Make sure there is a correct match and that the alignment arrow on the handle of the new 3-way valve lines up with the arrow on the valve before beginning to screw it in.Then screw the 3-way valve onto the 1/4" hex nipple on the sensor housing until one thread is visible.If this is done correctly, the handle should be facing down.
Replace the valve support bracket.
After screwing the recirculation tube fitting and check-valve assembly into the 3-way valve, be sure and turn the sensor housing and attached valve back to the upright position.
Return the recirculation tube tubing to its fitting, placing and tightening the nut.
Replace the screws on the front of the 3-way valve.
Return the outlet tube fitting into the 3-way valve, replacing the nut on the tube fitting.
Return the final filter to its support bracket, sliding its tubing into the outlet tube fitting.
To replace the valve handle only:
Remove the phillips screw on the valve handle and remove the handle, leaving the 3-way valve on the system.
Replace the handle exactly as it was removed, over the hex-stop on the handle so that the handle isfacing down.When correctly placed the alignment arrow on the handle is facing up and is positioned between the two alignment arrows on the valve.
Replace the screw on the handle.It should rotate 90 degrees and face down when closed.
|
Images are representative of the products. Images may or may not be of the actual product. If it is important e-mail us for an actual image if available.
* Flat Rate UPS shipping when able to ship via UPS and is in the USA excluding Hawaii and Alaska.
Larger Items may not be able to ship via UPS, in that case freight charges will be quoted seperately.
International shipping will be quoted after the order is placed. You will have the opportunity to cancel before we finalize your order.
Terms and conditions
Credit Application
Privacy
Policy
List All Products
|